
BSafes Tutorials, Part I - Getting Started With Your First BSafes Page

1. Target audience:
If you’re in the market to search for an application that can make your day to day tasks easier to manage and provide you with security to keep your important data safe, then BSafes is probably the app for you. There are many content-management and note-taking applications, but few protect your data in case of any breach. BSafes utilizes end-to-end encryption to encrypt your data safely. No one else could see your data, not even staff on the server-side. So, if you prefer your sensitive information is safe from hackers’ prying eyes, then BSafes is the app for you. BSafes also allows team collaboration so you and your team can work with the ease of mind in a secure environment.
Image by StartupStockPhotos from Pixabay
2. Brief introduction of BSafes:
BSafes is an advanced and encrypted office collaboration solution for you and your team members. At its core, it is a content-management application that allows teams to work together on any project from any location. BSafes provides you and your team with some features shown below:
- Protecting all your critical data using end-to-end encryption.
- Improving team collaboration over the internet.
- Creating safe and encrypted workplaces for groups over the cloud.
- End-to-end encryption allows data to store securely on the cloud because only you will have the secret key.
- Works on all modern browsers and devices, so no need to worry about compatibility.
- Create private spaces for different teams working on various projects.
- Easy sign-up and key-creation.
3. Sign up and create a key:
BSafes is very easy to use even for a new user. The next steps will give you a look at how to register quickly on the BSafes application.
First, we browse to the BSafes website by opening the following link: https://www.bsafes.com/
After you enter the URL in the browser, you would see the BSafes homepage shown below:

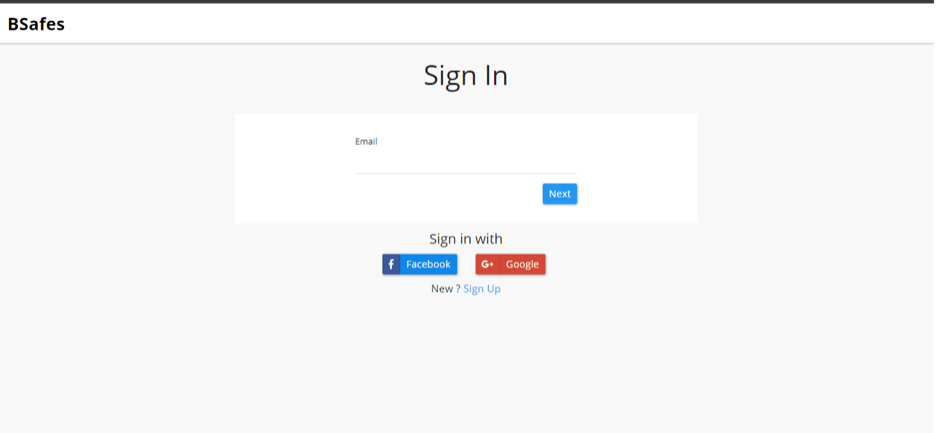
The next step is to sign up into the application, or if you already have an account, you can sign in. To sign up for the application, we must first click on the Sign-In button on the top right corner of the application, as shown below:
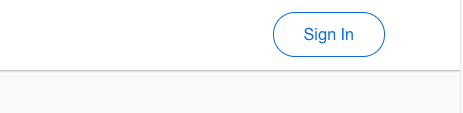
After clicking Sign-In, you would see the screen shown below:

Since you are a new user, you will have to sign up for the application first. To do that, you can either use email, Facebook, or Google. We will first look into email sign-up, and after that, Facebook sign-up. Google sign-up is similiar.
3.1. Email Sign Up:
To sign up using email, press the Blue highlighted Sign Up button, which is in the image below:

After pressing the Sign Up button, you would see the sign-up page shown below:
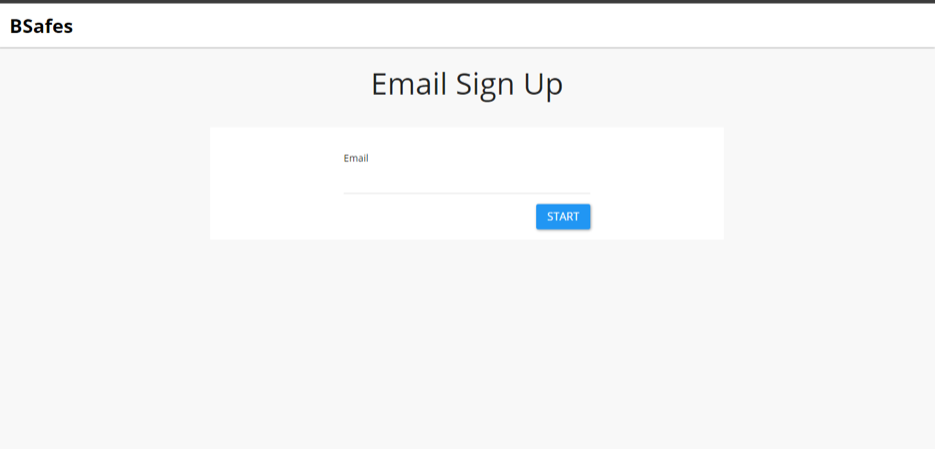
Now to register, the first thing you must do is enter our email like this:
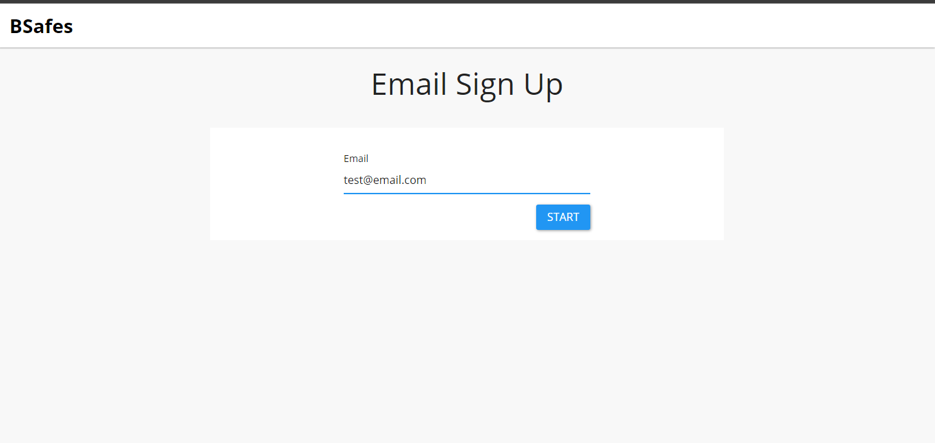
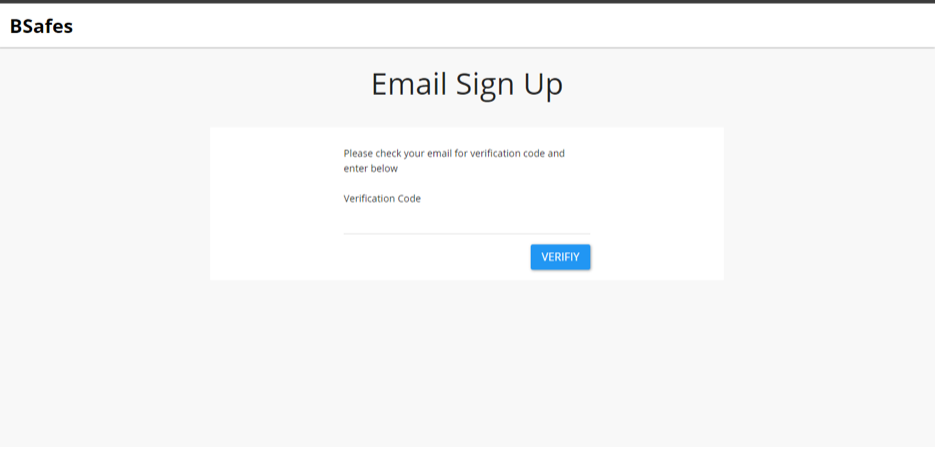
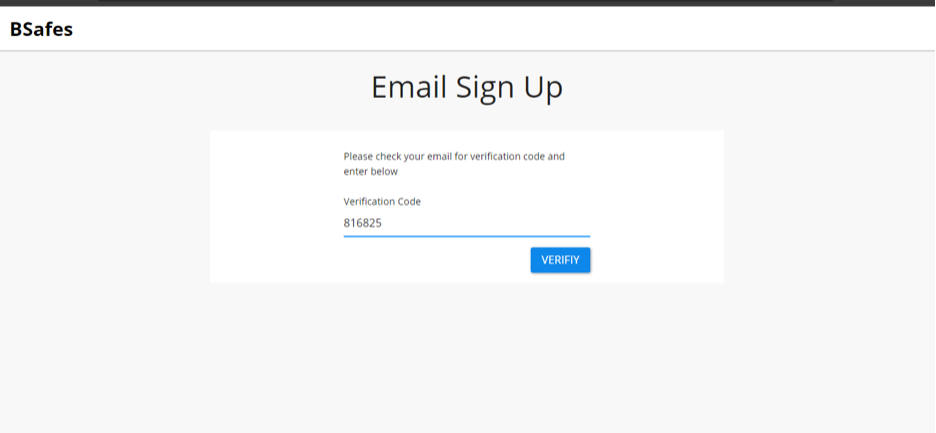
After successfully entering the email, press the start button. From there, you would see the verification page where we enter the verification code received on your valid email address. The below image shows a screenshot of a verification code page.
Now we open the email received from BSafes like the one shown below:
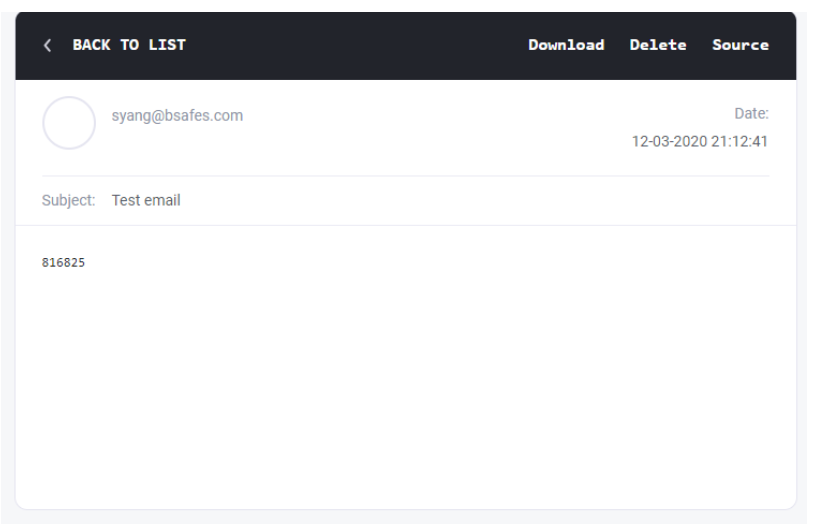
Next, we enter the code received in the email into the verification code page. Enter the correct code and click on the blue verify button, as shown below:
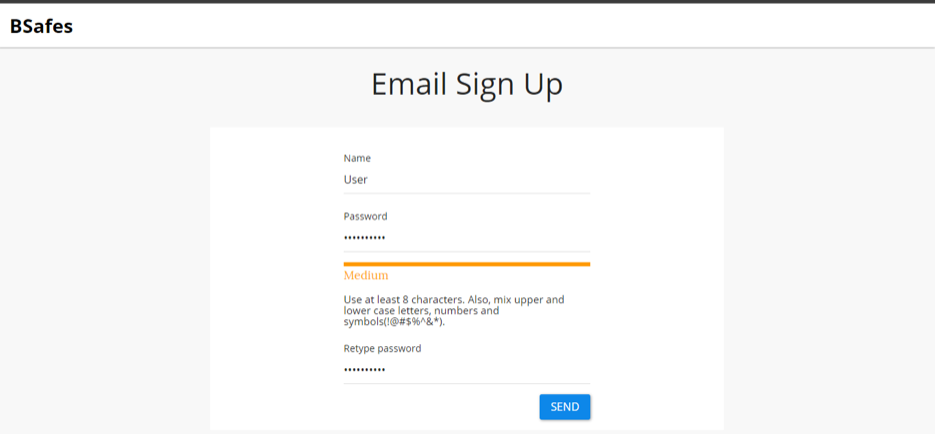
If you entered the valid code, you would see a page to set the Name and Password. Here you enter the desired name and password, as shown below, and then click on send:
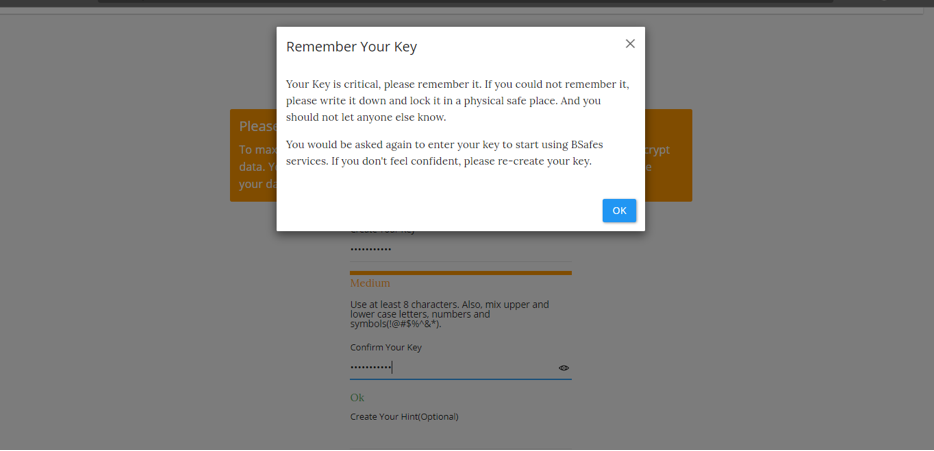
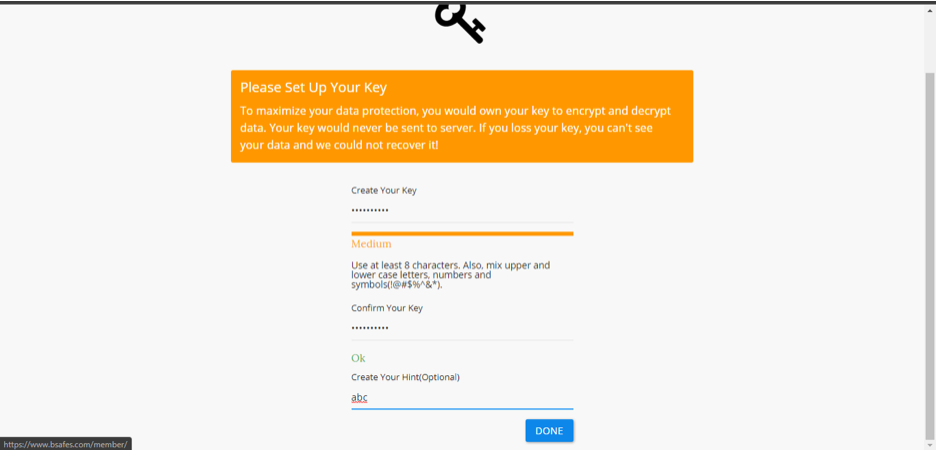
After selecting the name and the password, you would see the crucial key-creation screen to create your secret key. Your device uses the key to encrypt and decrypt everything you save on the BSafes workspace. Your device never sends the key to the BSafes server, and it is your responsibility to remember it. In the key-creation screen, you must type and retype the key and set any optional hint, as shown in the screenshot below:

First, enter the key in the Create-Your-Key field and enter the same key in the Confirm-Your-Key field. When you enter the key second time correctly, You would see a pop-up that alerts you always to remember your secret key, as shown below:
After pressing OK on the pop-up, you are back on the key-creation screen again. You have the option to set a hint for the key if you want; otherwise, you can leave it and click on done.

After successful registration, you would see the first Welcome screen, which prompts you to enter your secret key, as shown below:
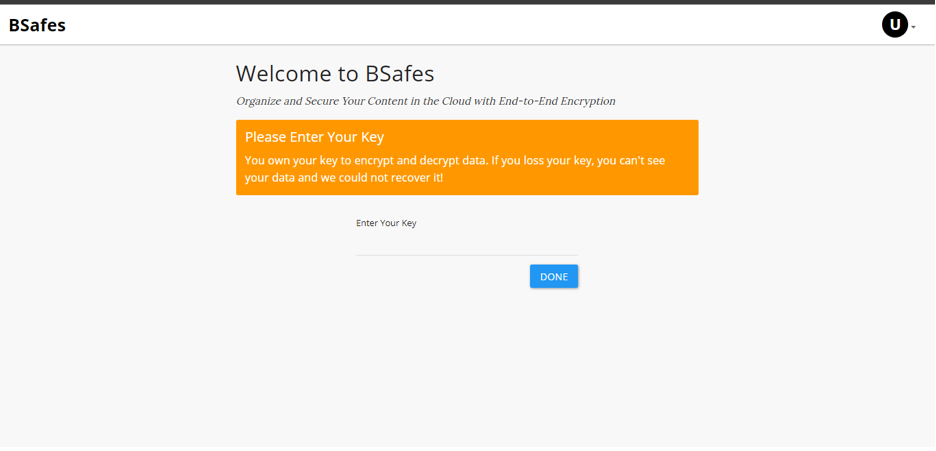
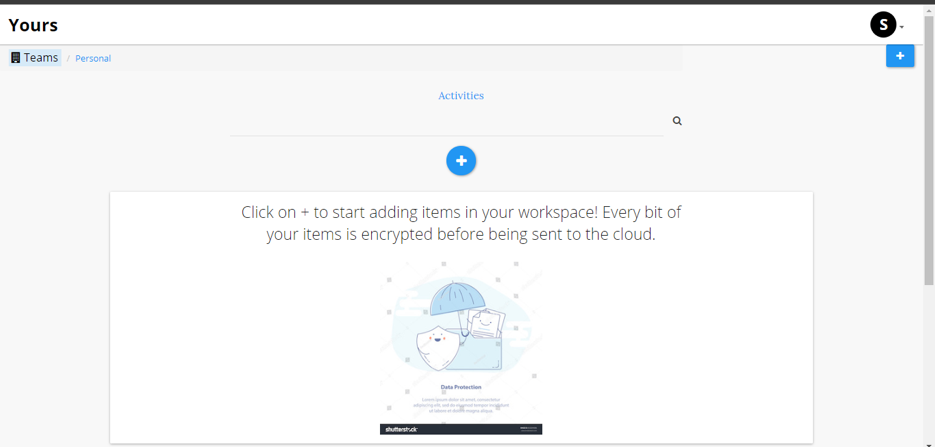
If you enter the key successfully, you will be taken to the workspace page as shown below:
3.2. Facebook Sign Up:
You can also sign up using Facebook if you do not want to enter your email every time. To sign up using Facebook, you go to the Sign-In page, as shown below:
Next, you press the blue Facebook button shown above. By clicking the Facebook button, you would see the Facebook confirmation page to give BSafes access to your allowed Facebook user data so that we can sign up, as shown below:
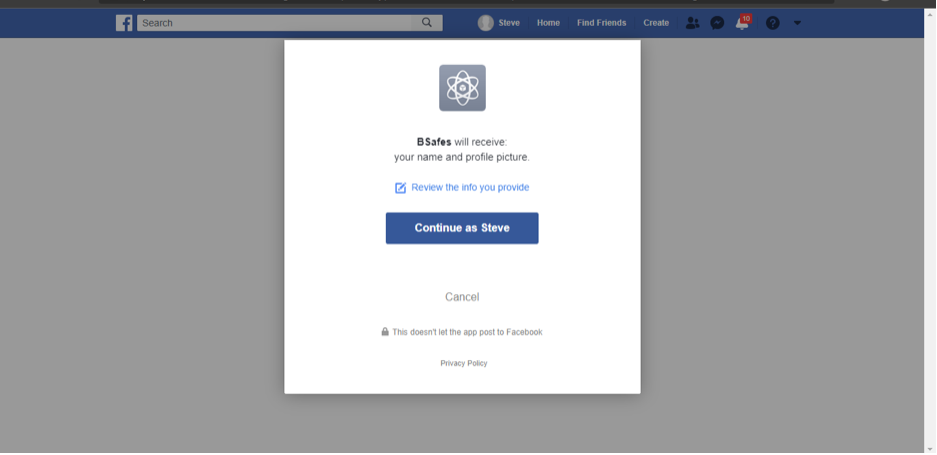
Now when you press continue, you get prompt to create our secret key page as it was with email, as shown below:
Like before with email sign-up, you enter and confirm the key and set an optional hint. After that, press Done, and you would see the Welcome screen, as shown below:
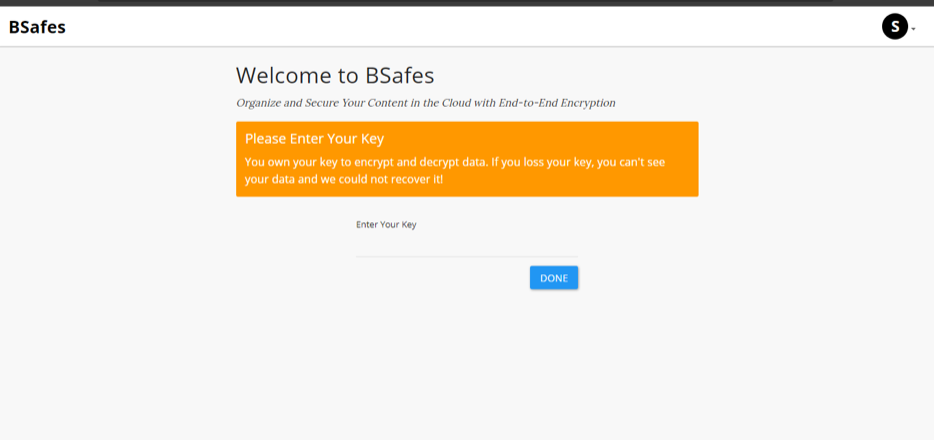
You enter your secret key on the Welcome page correctly to access the workspace screen shown below:
4. Create first Page in Personal workspace:
Each member has his or her own Personal Space, where you can add or create multiple things. Everything you add or write is encrypted and secure such that no one else could access it. It gives an extra layer of security to your data along with storage on the cloud.
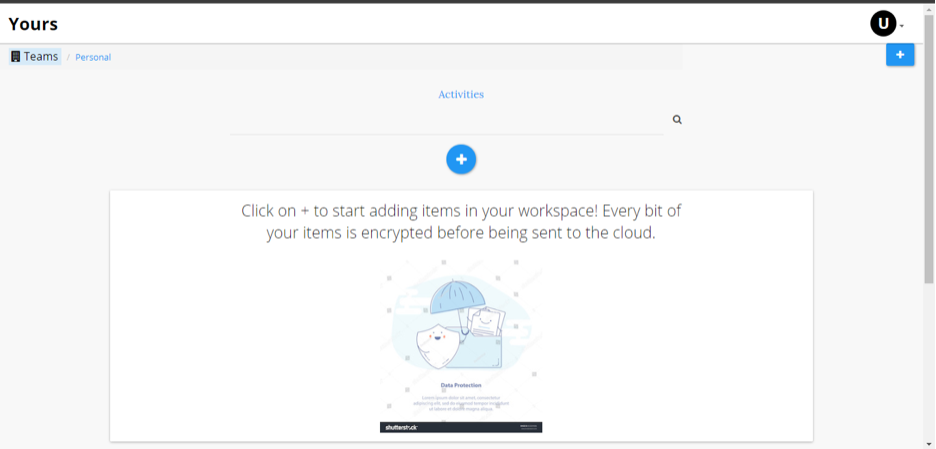
To create a personal page, first sign in to BSafes, select your Personal Workspace by clicking the “Personal” Option shown in the below screen:

After clicking the “Personal” option, you will enter into your Personal Workspace; click on “+” to begin adding items! Your device encrypts your data before sending it to the cloud:
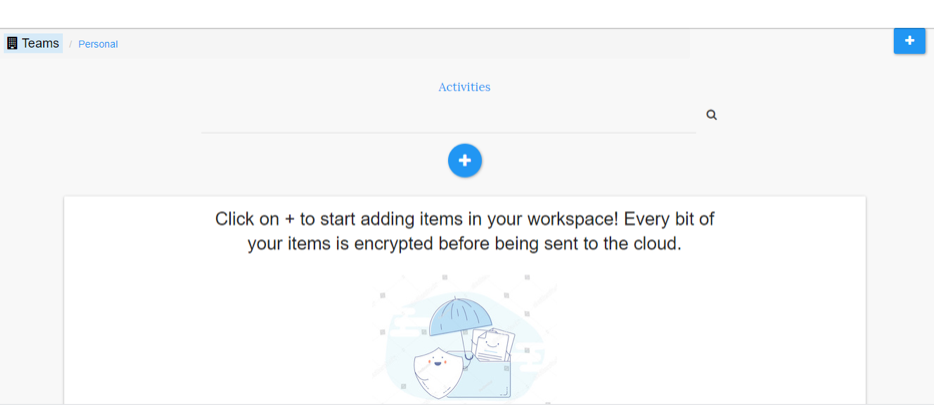
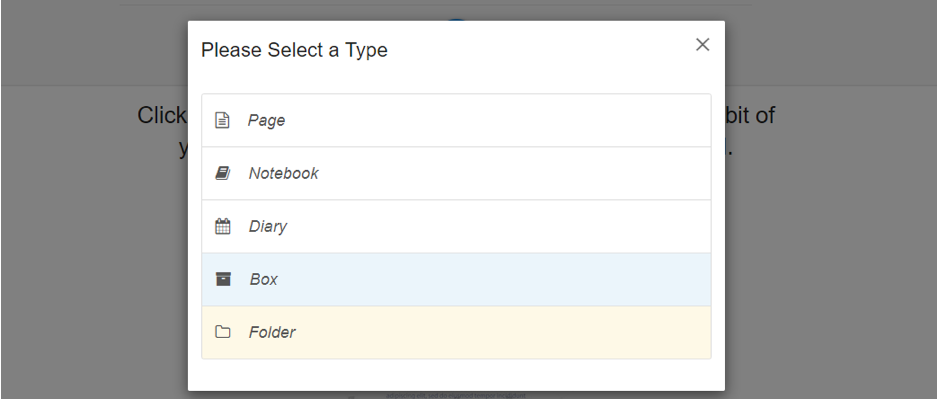
You will get the following screen, which shows that you can have multiple options. You can create Page, Notebook, Diary, Box, and Folder. Whenever you save your writing or upload photos, videos, or any files, your device encrypts everything automatically. Now you are going to create your first page, for that, click on the “page” option:
You will get a Title pop-up. Then type the title of the page and click create:

You would see your first page created and displayed, as shown below:
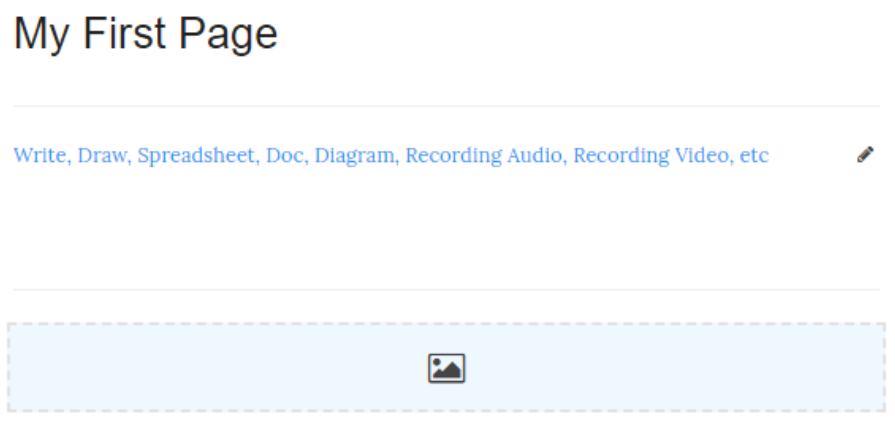
Now you could start writing, add photos, videos, and attach files. And you could add tags on top of a page for easy search.